Pro Tips
Capturing Your Sea Ray Life
If there is anything boaters love as much as their on-water lifestyles, it’s capturing those lifestyles through still images and video. From watersports and angling action to relaxing on the hook and entertaining dockside, we’re always armed and ready to preserve these precious memories with family and friends.
These days, we tend to be armed with smartphones rather than dedicated photo gear, but that doesn’t mean we can’t work toward upping our game. Sea Ray Life recently sat down with two of Sea Ray’s professional shooters — photographer Richard Steinberger and cinematographer Ben Sampson — to talk about their tips for taking better pictures and videos while spending time on the water.
SRL: So, how important is the camera you use? We know you guys use the latest and greatest gear out there, but what are your recommendations for our boat owners?
Richard: The best camera for boating photography is the one that you have with you! If you want to get more serious, however, consider investing in a DSLR or mirrorless system. iPhones and Androids have come a long way, but their tiny sensors and lack of interchangeable lenses result in image quality that’s not quite on par with the bigger camera systems. But, in the end, the camera that’s in your hand is the one that’s best.
SRL: What are the biggest challenges when capturing videos on the water?
Ben: The hardest part is keeping your shots steady and exposed correctly. When we are shooting for Sea Ray, we actually use very powerful camera-mounted gyros that spin up to 20,000 rpm to keep our shots steady. They’re basically Seakeepers for our cameras. Luckily for the novice videographer, image stabilization has come a long way on cellphones and GoPros—to the point where you can get great results with handheld shots. Using a wider lens in the 16-20mm range also will make a shaky horizon less noticeable.
SRL: What camera settings do you recommend?
Richard: Make sure you really understand your camera. Even the ones on your smartphone allow you to change settings. Shooting in the morning or afternoon can be challenging with reflections on the water, so it helps to know how to under- or overexpose your shot to get the right exposure. Explore some of the camera apps that are available for your phone; most of these provide a greater level of control than the phone’s built-in camera app. The two I use most for my iPhone are Camera Plus 2 and Focos as well as the newly released Adobe Photoshop Camera. PhotoPills is another great one if you want to really plan a photo, it’ll allow you to predict where exactly the sun or moon will rise or set. And make sure your lens is clean of smudges and fingerprints!
Ben: Another common mistake is overexposing video shots due to bright sun and the abundance of white surfaces on most boats. Make sure you are using your in-camera exposer meter, and cheat a stop or two (underexposed) on the whites of the boat; that way, your subjects won’t get lost in the shadows. These days, most cell phones allow you to manually adjust the exposure while filming. A great app to use is ProCam or Mavis for manual shooting!
SRL: How do you draw the viewer into your photos and videos, and make things more exciting?
Richard: Pay attention to your composition when framing your subjects. If your phone’s settings allow it (iPhone-Settings-Camera-Grid-On), you should consider having the “Rule of Thirds Grid” on your screen at all times. The rule of thirds involves mentally dividing up your image using two horizontal lines and two vertical lines. Then you position the important elements in your scene along those lines, or at the points where they meet. Studies have shown that, when viewing images, people's eyes naturally go to one of the intersection points rather than to the center of the shot. If you use the rule of thirds, you’ll work with this natural way of viewing an image rather than against it—and therefore create a more pleasing image
Ben: Try mixing up your frame rates and angles. Everyone loves slow motion because it shows a perspective the human eye can’t see. If you’re using a GoPro or smartphone, try setting your camera to 240fps (frames per second) or 120fps for high-speed action. Just remember: A little bit goes a long way, and these frame rates eat up a lot of storage and time, so use them sparingly. Also, try mixing up your angles by getting lower to the water or higher up, perhaps even using a drone.
SRL: Any technical details we shouldn’t overlook when shooting video?
Ben: Try to use the 180-degree rule, which means have your shutter speed twice your frame rate— also known as 180 degrees in the film world. This allows for the traditional film motion-blur look. So, for example, if you’re recording at 24fps, you want your shutter at 1/48 of a second. This is especially important when filming moving water or when you’re shooting from a drone. A shutter speed that’s too high will make your videos look jittery and unpleasant to the eye. Neutral Density Filters, or NDs, can be used to help knock down the light entering the camera and allow for these lower shutter speeds. I usually use a ND 16 on my drones and Go Pros when filming on bright sunny days.
SRL: Once a boater has captured all these cool video clips… now what?
Ben: Always remember that filming is actually a two-step process: filming and editing. It’s like cooking a meal. You can have the best possible ingredients, but if you don’t follow a good recipe to combine them, it might not be enjoyable to eat. My advice is to always think of the story you are trying to tell with the images you’re capturing. Think of your day on the water as a story with a beginning, middle, and end. That way, when you edit the video, you have all the ingredients you need to satisfy your audience. There are some really cool in-phone video editing apps that automate a lot of the editing process with great results. Keeping clips shorter in length also will save you a lot of headaches when you sit down to edit.
SRL: When we do our shoots, we often have dedicated photoboats and helicopters. How can our readers get different interesting results without going quite that far?
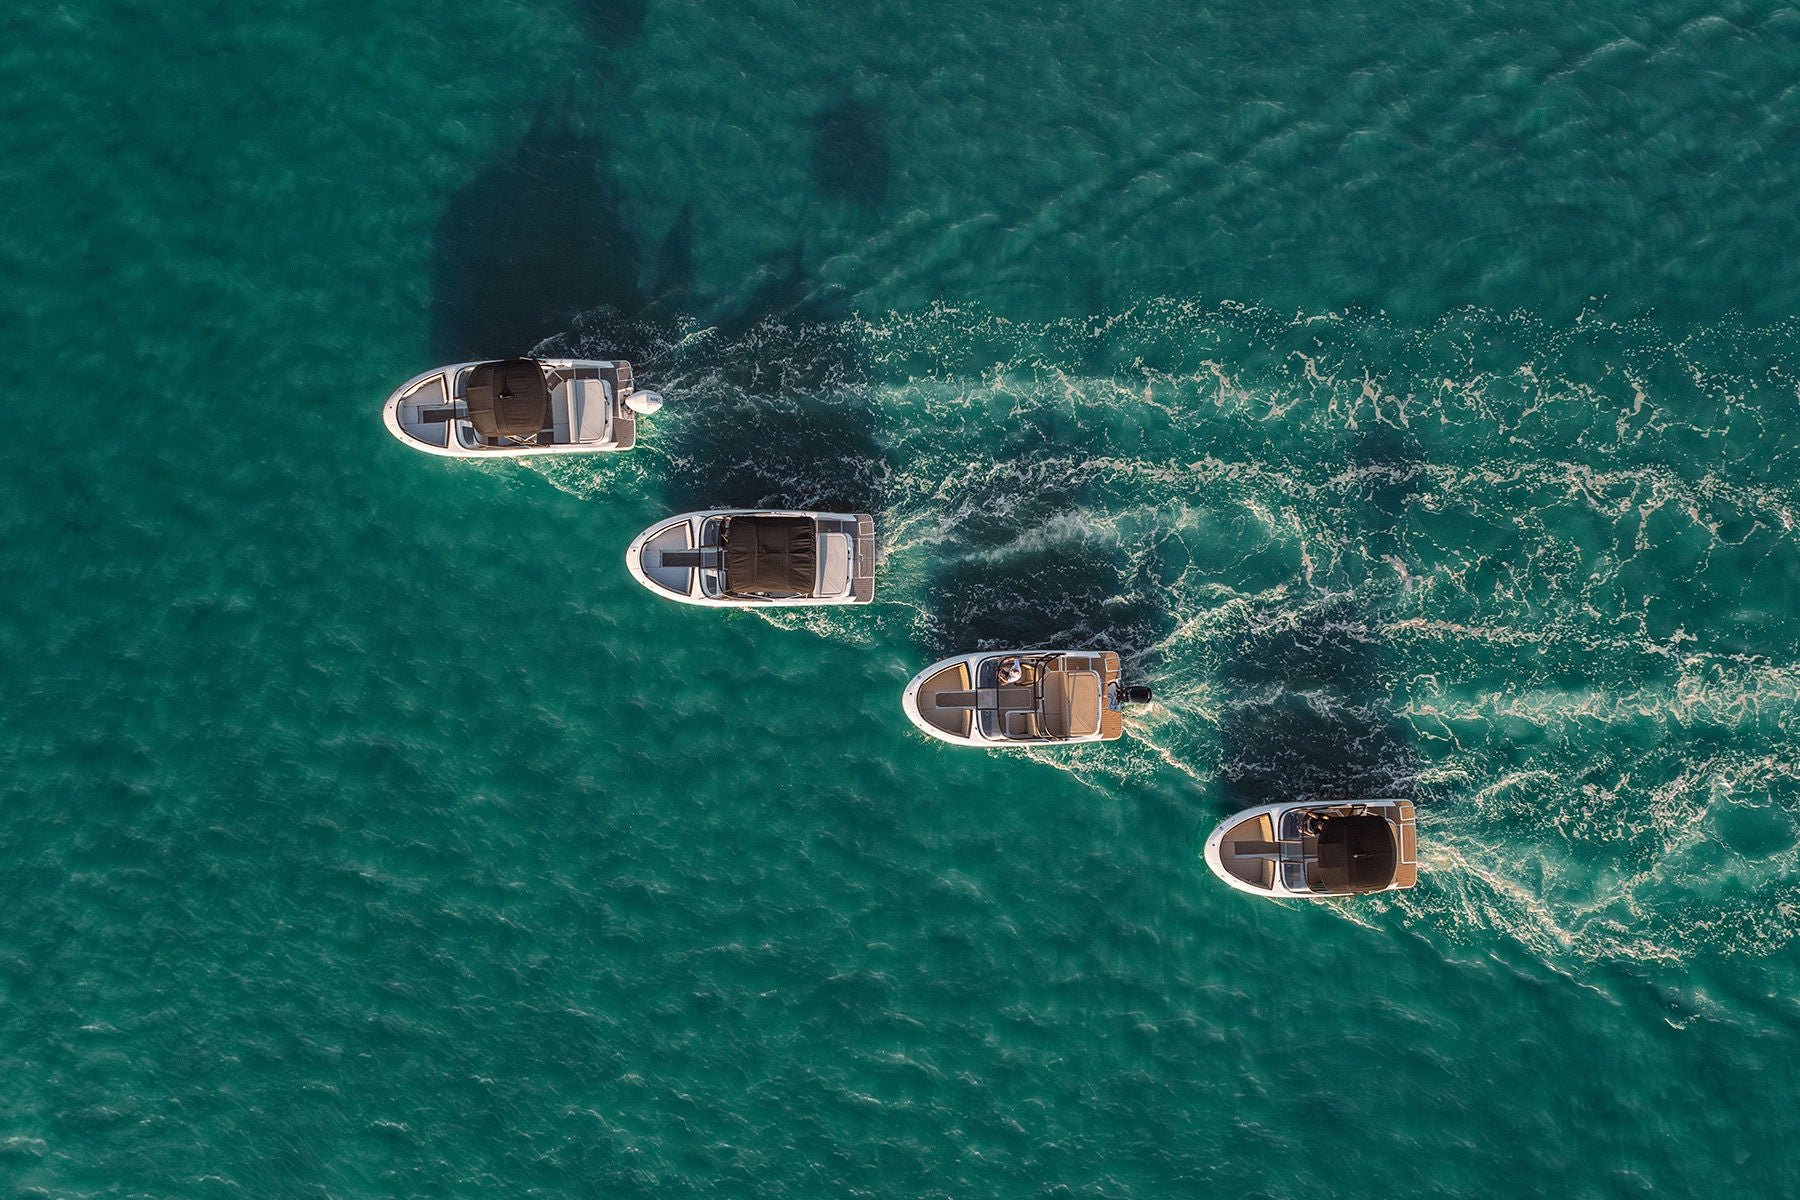
Richard: Whether we’re shooting from water level, dedicated photoboats, helicopters or drones, we’re constantly striving to provide different points of view. Regardless of what tools you’re using, be sure to explore unique angles to keep your viewers interested. Mount your camera on a 20-foot pole, or use a drone to get a overhead shot. Maybe jump in the water and get that awesome shot of the boat from just above the water level. Just a couple of feet lower or higher can make a big difference!
SRL: Any other equipment you can recommend?
Richard: If you’re using your phone for photos (and who isn’t, these days), explore what sort of equipment you can use to make your shots more memorable. I bought an iPhone underwater housing with a dome port so I can do split-level shots with my iPhone while on vacation! It’s a pretty sweet setup, and it gave me images I couldn’t get any other way—at least, not without bringing my professional housing, and I don’t want to drag that around unless absolutely necessary. Also, you might want to consider purchasing clip-on lenses for your phone. They provide a fun way to change things up a bit.
SLR: What are your thoughts on light and time of day?
Richard: The time of day plays a huge role in the outcome; we’re usually out shooting at sunrise and sunset, as the light is much softer than it is during the middle of the day. We definitely prefer backlighting our shots in many situations, as it emphasizes the depth behind the subject and gives the images a greater sense of place. The backlighting of people and objects will produce a dramatic contrast, and help make your image pop. But it can be challenging to get a good exposure, so manual control is very important, as is time of day. High-noon lighting will definitely be too harsh to pull it off successfully.
SLR: Final thoughts, guys?
Richard: Definitely be mindful of the time of day. Early morning and late afternoon are best. Play with unique angles and distances—wide, up close, low down, or high up. Don’t be afraid to go a little crazy or to be silly, and most importantly, have fun with it.
Ben: It’s cool to see technology come so far in the past few years. Now everyone has the power to share their stories, with the world right at their fingertips. Just always remember there are no rules to follow when it comes to being creative, so definitely have fun with it!
This is for general information purposes only. Your use or reliance on any of the information in this Blog is solely at your own risk. Under no circumstance will we have any liability for any loss or damage of any kind incurred as a result of the use of any of the information provided.
Options and features mentioned subject to change. Please confirm availability of all accessories and equipment with an authorized Sea Ray dealer.